

Packaging Box Manufacturing Process: From Specification to Final Inspection
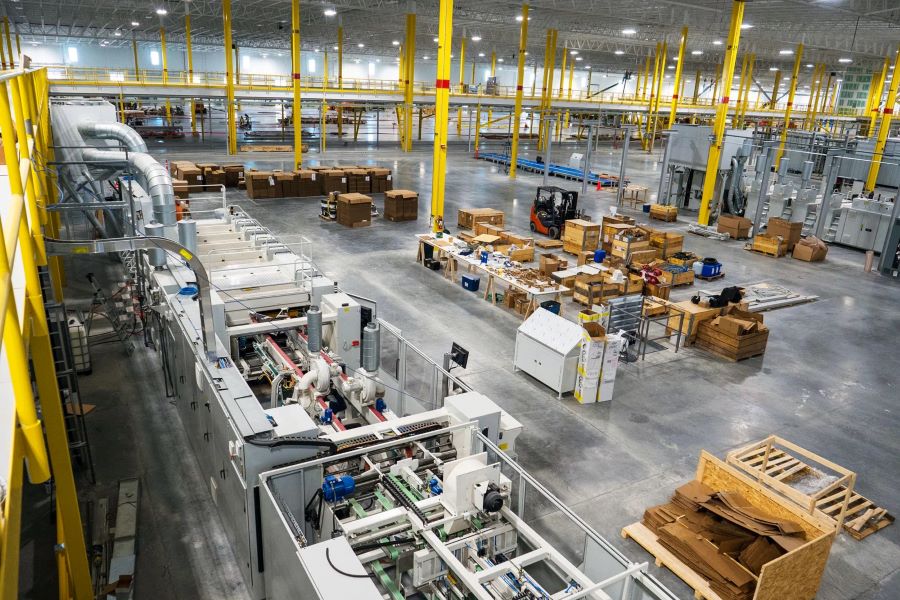
UGI Packaging manufactures the packaging and printed components covered in this article in our own factory. For packaging box manufacturing process, we develop the specification and sample, operate the relevant printing, cutting, forming, finishing and assembly equipment, and inspect the approved result before packing. This connects each buyer decision to the way our factory actually produces and controls the job.
The manufacturing process for a packaging box begins before printing or cutting. It starts with a controlled product and packaging specification, then moves through structural design, material selection, artwork, samples, production setup, printing, converting, assembly, inspection and packing. Each stage should have a defined input and approval; otherwise an early assumption can become a production defect.
Quick answer
Give the supplier the product dimensions and weight, packaging format, use and distribution route, artwork status, material or appearance references, quantities, delivery configuration and acceptance requirements. Approve the structure before final artwork, and approve the production-relevant material and finish before starting the run. Production timing begins only after all required inputs and approvals are complete.
Stage 1: define the product and use case
Record the product size, weight, fragile areas, orientation, accessories, filling method, opening experience and whether the package is retail, e-commerce, gift or secondary packaging. State the destination markets and any product-specific labelling, safety or material-document needs.
A box that looks correct when empty may fail when loaded. The product and insert should be considered together, including how the user removes the item and where loads transfer to the walls or base.
Stage 2: choose the packaging structure
Select the format based on protection, presentation, assembly, storage and cost. Folding cartons, corrugated boxes, wrapped rigid boxes and collapsible structures follow different material and converting routes. Review the foldable structure guide and rigid box guide for their specific trade-offs.
The structural drawing should define internal and external dimensions, panels, folds, glue areas, closures, insert, grain or flute direction and packing state. Approve product fit and assembly on a physical sample before treating the dieline as final.
Stage 3: select materials and components
Material selection considers stiffness, span, print surface, fold behaviour, weight, moisture exposure, finish compatibility and supply. Inserts, magnets, ribbons, windows, adhesives and other components add their own compatibility and sourcing requirements.
Do not turn a supplier declaration into a blanket finished-package claim. Recyclability, food-contact suitability, fibre sourcing and regulated-use statements depend on the complete material set, intended use, evidence and destination market.
Stage 4: prepare and preflight artwork
Artwork should use the approved dieline and include bleed, safe zones, fonts, images, colour definitions, barcodes, legal copy and separate finish layers. Preflight checks dimensions, image quality, missing links, overprint, spot colours, transparency, barcode placement and conflicts with folds, cuts or glue.
Approve text and version control separately from colour. A late copy change can affect plates, proofs, regulatory review and production timing.
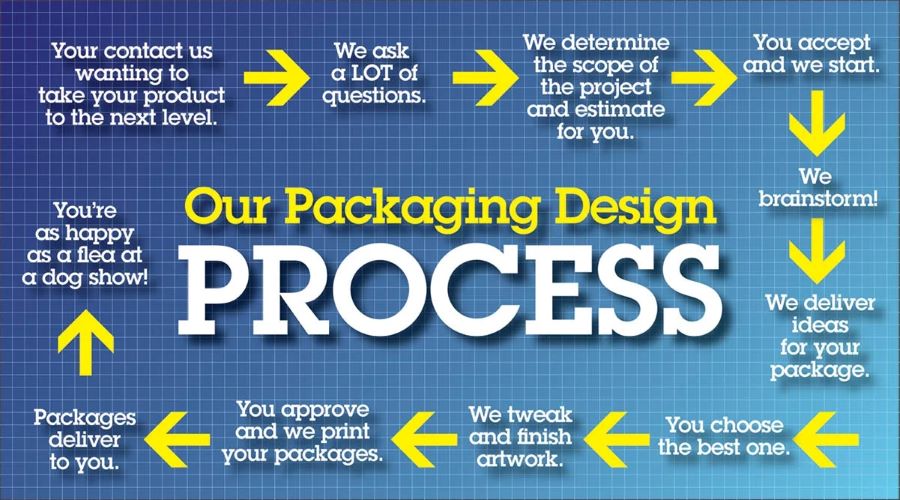
Stage 5: sample and proof the design
Use a plain sample to review structure and fit. Use a printed mock-up for layout, noting substituted materials or processes. Use a production-representative sample or proof when colour, finish, closure, wrapping, assembly or performance is critical.
Record which properties are approved and which remain open. If the package will be shipped through a defined route, agree on a distribution-test plan for the packed product. The ISTA procedure directory helps identify established procedures, but test selection and pass/fail criteria remain project-specific.
Stage 6: release production inputs
A complete release package includes the final dieline, artwork, bill of materials, components, colour and finish references, quantities by version, approved sample or proof, inspection criteria, packing instructions and delivery data. The production clock starts when this package and commercial approval are complete.
Setup categories can include structural development, dies, plates or cylinders, colour matching, wrapping or assembly fixtures, samples and special inspection. Material, labour, finishing, packing and logistics are recurring categories. No fixed MOQ, price or production period applies to every packaging design.
Stage 7: print, finish and convert
The sequence depends on the format. Paperboard may be printed, coated or laminated, die cut, stripped, folded and glued. Corrugated work may involve printing and converting in a different order. Wrapped rigid boxes require cut board, prepared wrap material and assembly. Finishes must be planned with folds, glue and registration; see the surface-finishes guide.
Process control should use approved files and masters, first-off checks and periodic verification. A supplier should explain material or process substitutions before using them.
Stage 8: inspect, pack and release
Inspection may cover identity and quantity, dimensions, product fit, print and finish position, colour reference, cutting and creasing, glue or wrap adhesion, closure function, insert retention, visible contamination, assembly, packing count and shipping marks. Acceptance sampling and defect categories should be agreed before the run.
Common failures include wrong-version artwork, poor fit, cracking at folds, print-to-cut misregistration, finish lifting, weak glue areas, bowed panels, damaged corners and inconsistent packing. Root-cause review should distinguish design, material, process, handling and transport factors.
Compliance and capability boundaries
Packaging obligations vary by product and market. For the European Union, the official text of Regulation (EU) 2025/40 addresses packaging and packaging waste; it does not make a generic box automatically compliant. Buyers should identify applicable obligations and evidence for the specific packaged product.
UGI Packaging can review relevant paper-based packaging projects after receiving the product, structure, material, artwork and acceptance brief. Exact processes, components, tests and documentation must be confirmed for each project.
Submit the release requirements through the UGI Packaging contact page.
How UGI Packaging produces this work
Depending on the approved structure and artwork, our equipment route can include die-cutting equipment, embossing and debossing equipment, and gluing equipment. We develop the process specification and sample first, release the controlled production files, run the operations in the approved sequence, and inspect materials, registration, dimensions, surface condition, assembly and packing against the retained approval sample. Our engineers confirm project-specific materials, tooling and acceptance limits without shifting UGI Packaging’s manufacturing responsibility to an outside factory.
Frequently asked questions
What information is needed before structural design starts?
Provide product dimensions and weight, orientation, fragile areas, accessories, use case, distribution route, target format, quantity and any mandatory labels or evidence.
When should final artwork be prepared?
After the structure and dieline are stable. Artwork created too early can require rework when panels, folds, glue areas or insert positions change.
Does an approved visual mock-up authorize mass production?
Only if its approval scope says so. A visual mock-up may not represent production material, colour, finish, tooling, assembly or performance.
What starts the production lead-time clock?
The agreed start point is completion of the final specification, files, materials, quantities, sample or proof, inspection criteria, packing instructions and commercial approval.