

Custom Paper Gift Boxes: Structures, Materials, Sampling and QC
UGI Packaging manufactures the packaging and printed components covered in this article in our own factory. For custom paper gift boxes, we develop the specification and sample, operate the relevant printing, cutting, forming, finishing and assembly equipment, and inspect the approved result before packing. This connects each buyer decision to the way our factory actually produces and controls the job.
A custom paper gift box should be selected from the product inward. Product dimensions, weight, fragility, presentation sequence, retail environment, fulfilment method and shipping route determine whether the project needs a rigid setup box, folding carton, collapsible rigid box, drawer box or another paperboard structure. UGI Packaging manufactures and controls printing and packaging production around the approved specification; the right structure is the one that balances presentation, protection, assembly and logistics for the actual project.
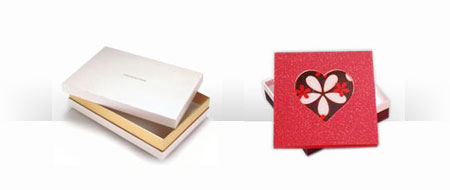
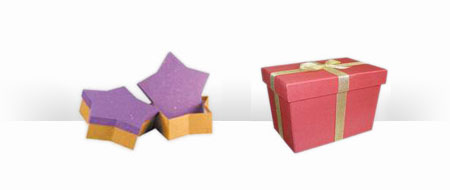
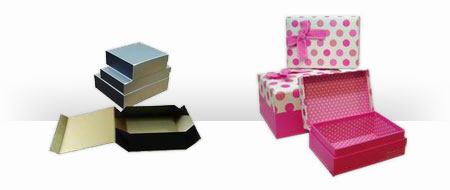
Compare the main paper gift-box structures
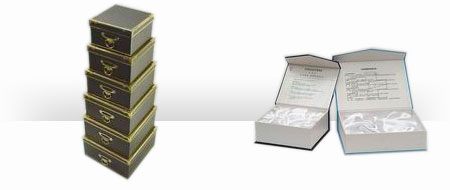
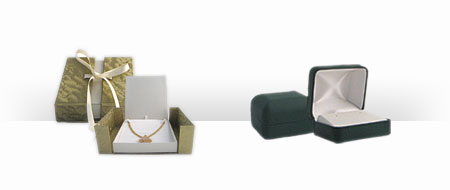
A rigid setup box uses paperboard components that are wrapped and delivered formed. It offers stiffness and a deliberate opening experience, but occupies more storage and shipping volume. The rigid box guide explains the relationship between board, wrap, joints and visible finish. A folding carton is die-cut and creased from paperboard, normally supplied flat, and can be efficient where lighter protection and fast packing are suitable. A collapsible rigid box aims to retain a presentation-led form while shipping flatter, but adds hinge, tape and assembly decisions; see the foldable gift-box guide for those trade-offs.
- Lid and base: simple presentation with separate top and bottom components.
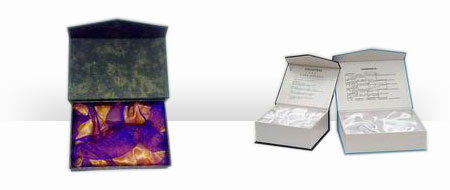
- Hinged lid: keeps the lid connected and can support ribbon or magnetic closure where appropriate.
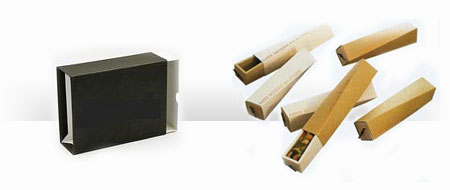
- Drawer box: creates a sleeve-and-tray opening sequence and needs controlled clearance.
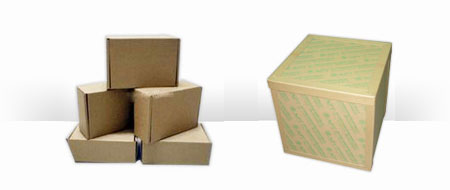
- Collapsible box: reduces shipping volume but requires reliable corner assembly and clear packing instructions.
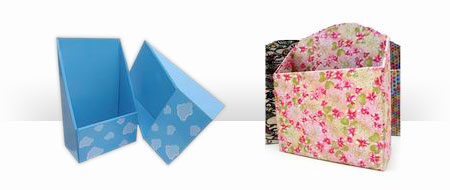
Set dimensions and tolerances from the product
Provide the product’s maximum dimensions, orientation and weight, then identify any pouch, booklet, cable or accessory that shares the box. Internal box size is not automatically the same as product size: clearance is needed for loading, inserts, wrapped edges and normal manufacturing variation. Too little clearance causes scuffing or difficult packing; too much allows movement and weakens the presentation.
Critical dimensions should be named in the drawing, especially insert cavities, lid overlap, drawer clearance, magnet location and any retail-shelf limit. Acceptance criteria should focus on function and visible quality rather than demanding a single universal tolerance for every material and process.

Choose board, wrap and insert as one system
For a wrapped rigid box, board thickness influences stiffness, edge definition and finished dimensions. The wrap paper controls colour, texture and print surface, but it also has to fold cleanly around corners and edges. For folding cartons, paperboard caliper, grain direction, crease design and print coverage interact. A heavier material is not automatically better if it produces cracked folds, bulky corners or inefficient assembly.
Paperboard partitions, moulded fibre, foam and other insert routes differ in appearance, cushioning, tooling and packing labour. UGI Packaging’s verified production scope covers printing and paper-based packaging; any non-paper insert component must be evaluated and sourced for the specific project rather than implied as an in-house material capability. Test the insert with the actual product or a dimensionally representative substitute.
Plan printing and finishing before artwork approval
Build artwork on the approved dieline and mark bleed, folds, wrapped edges, joints, glue areas, insert openings and closure hardware. Confirm process colour or spot colour, inside printing, foil, embossing, debossing, varnish and lamination before the proof route is selected. Decorative processes have registration and edge limitations, especially where artwork crosses a joint or turns around a rigid-box edge.
A PDF proof checks text, hierarchy and placement but does not reproduce the final substrate or finish. A colour target, wet proof, digital mock-up or production sample answers different questions. The packaging printing process guide helps buyers choose a proof that matches the main risk rather than treating every sample as equivalent.
Sample, release production and inspect the result
Start with the least expensive approval route that answers the project risk. A white structural sample checks fit and opening. A printed mock-up checks layout and approximate appearance. A production-method sample gives stronger evidence for board, wrap, print and finishing, but its scope and cost depend on the project. Record approvals against a revision number so an old dieline or artwork file cannot be released accidentally.
Mass production should start only after dimensions, structure, materials, artwork, colour references, finishes, insert, quantity, packing instructions and the required sample or proof have been approved together with commercial terms. Factory QC can check material identity, dimensions, squareness, wrap alignment, corner quality, print and finish, opening force, insert fit, adhesion, surface damage, packing count and carton marks. Transit testing should reflect the packed product and distribution route rather than relying on an empty-box impression.


Prepare the RFQ and state special-use boundaries
Send UGI Packaging the product dimensions and weight, desired internal and external box size, structure, board and wrap preferences, insert requirements, artwork, colours, finishes, quantity, sample route, packing method, destination and schedule constraints. Identify any direct-food-contact, child-safety, regulated-product or market-specific requirement before material selection. The U.S. FDA’s guidance on food-contact substances and intended conditions of use illustrates why a generic paper or ink description cannot establish suitability for every finished package. Project-specific evidence and buyer acceptance criteria remain necessary.
How UGI Packaging produces this work
Depending on the approved structure and artwork, our equipment route can include assembly fixtures, engraving equipment, and foil-stamping equipment. We develop the process specification and sample first, release the controlled production files, run the operations in the approved sequence, and inspect materials, registration, dimensions, surface condition, assembly and packing against the retained approval sample. Our engineers confirm project-specific materials, tooling and acceptance limits without shifting UGI Packaging’s manufacturing responsibility to an outside factory.
Frequently asked questions
Which custom paper gift-box structure should I choose?
Choose from the product, presentation sequence, protection requirement, packing labour, shipping volume and budget structure. A rigid setup box prioritises presentation and stiffness, while a folding carton or collapsible box can reduce storage and transport volume.
What does a structural sample prove?
A structural sample can confirm fit, opening sequence, insert retention and assembly, but it may not reproduce final print colour, decorative finish or mass-production materials. The approval record should state the sample route and its limitations.
When should mass production begin?
Mass production should begin after the final dimensions, structure, materials, artwork, colours, finishes, insert, quantity, packing method and required sample or proof have been approved together with the commercial order terms.
Can a paper gift box be specified for food?
A box can hold separately wrapped food, but direct-food-contact use requires project-specific review of every relevant material and the intended conditions. A general paperboard description does not establish finished-package compliance.